Many of the projects produced during your Level I classes are on swatches of fabric that can be used for a variety of different purposes; framed embroidery, patches, pincushions, small earrings, and more. At times, you will stitch a border pattern and think — this would make a great bookmark! This blog post is meant to show you the sewing basics to hemming an Aida cloth project and adding stiff felt to create a bookmark.
Let’s be clear, that you can use the instructions in this blog to hem any Aida cloth project (without the stiff felt) ahead of framing it.
Below are step-by-step instructions that should not take longer than one hour to complete, and can be used for a variety of purposes throughout your tatreez career.
Materials:
- Stiff felt
- Sewing thread & needle
- Fabric or any sharp scissors
- Pins
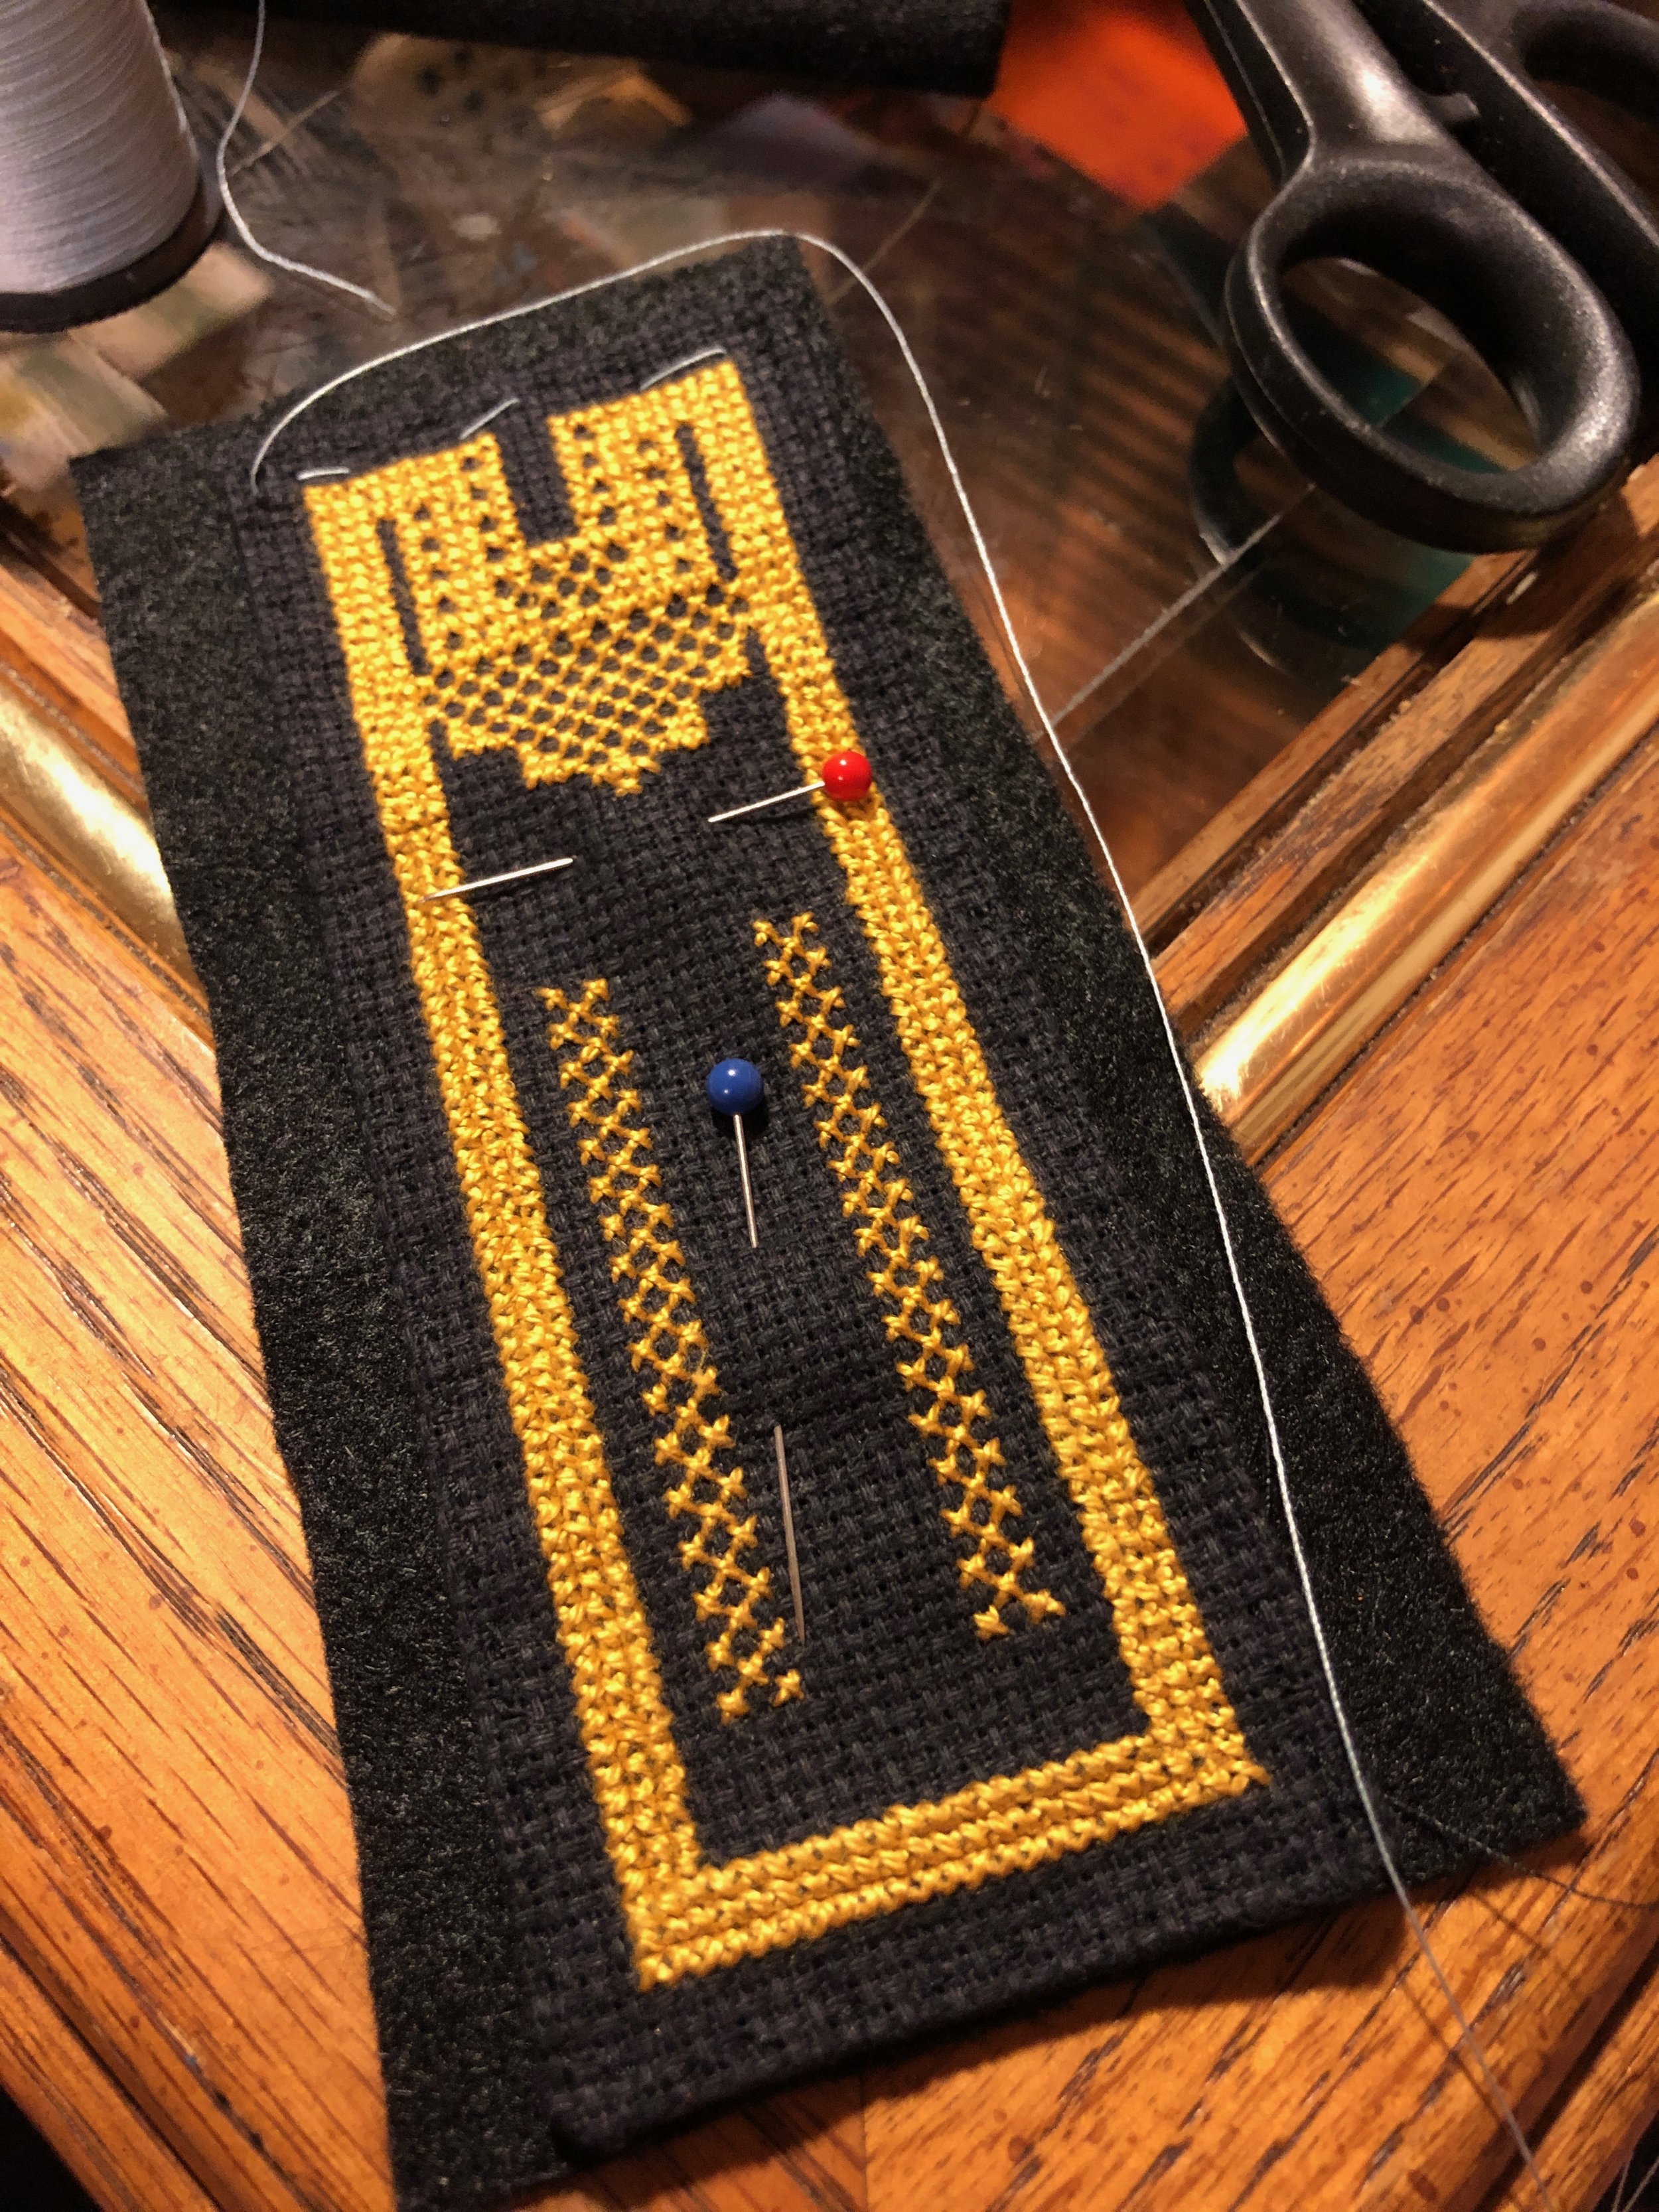
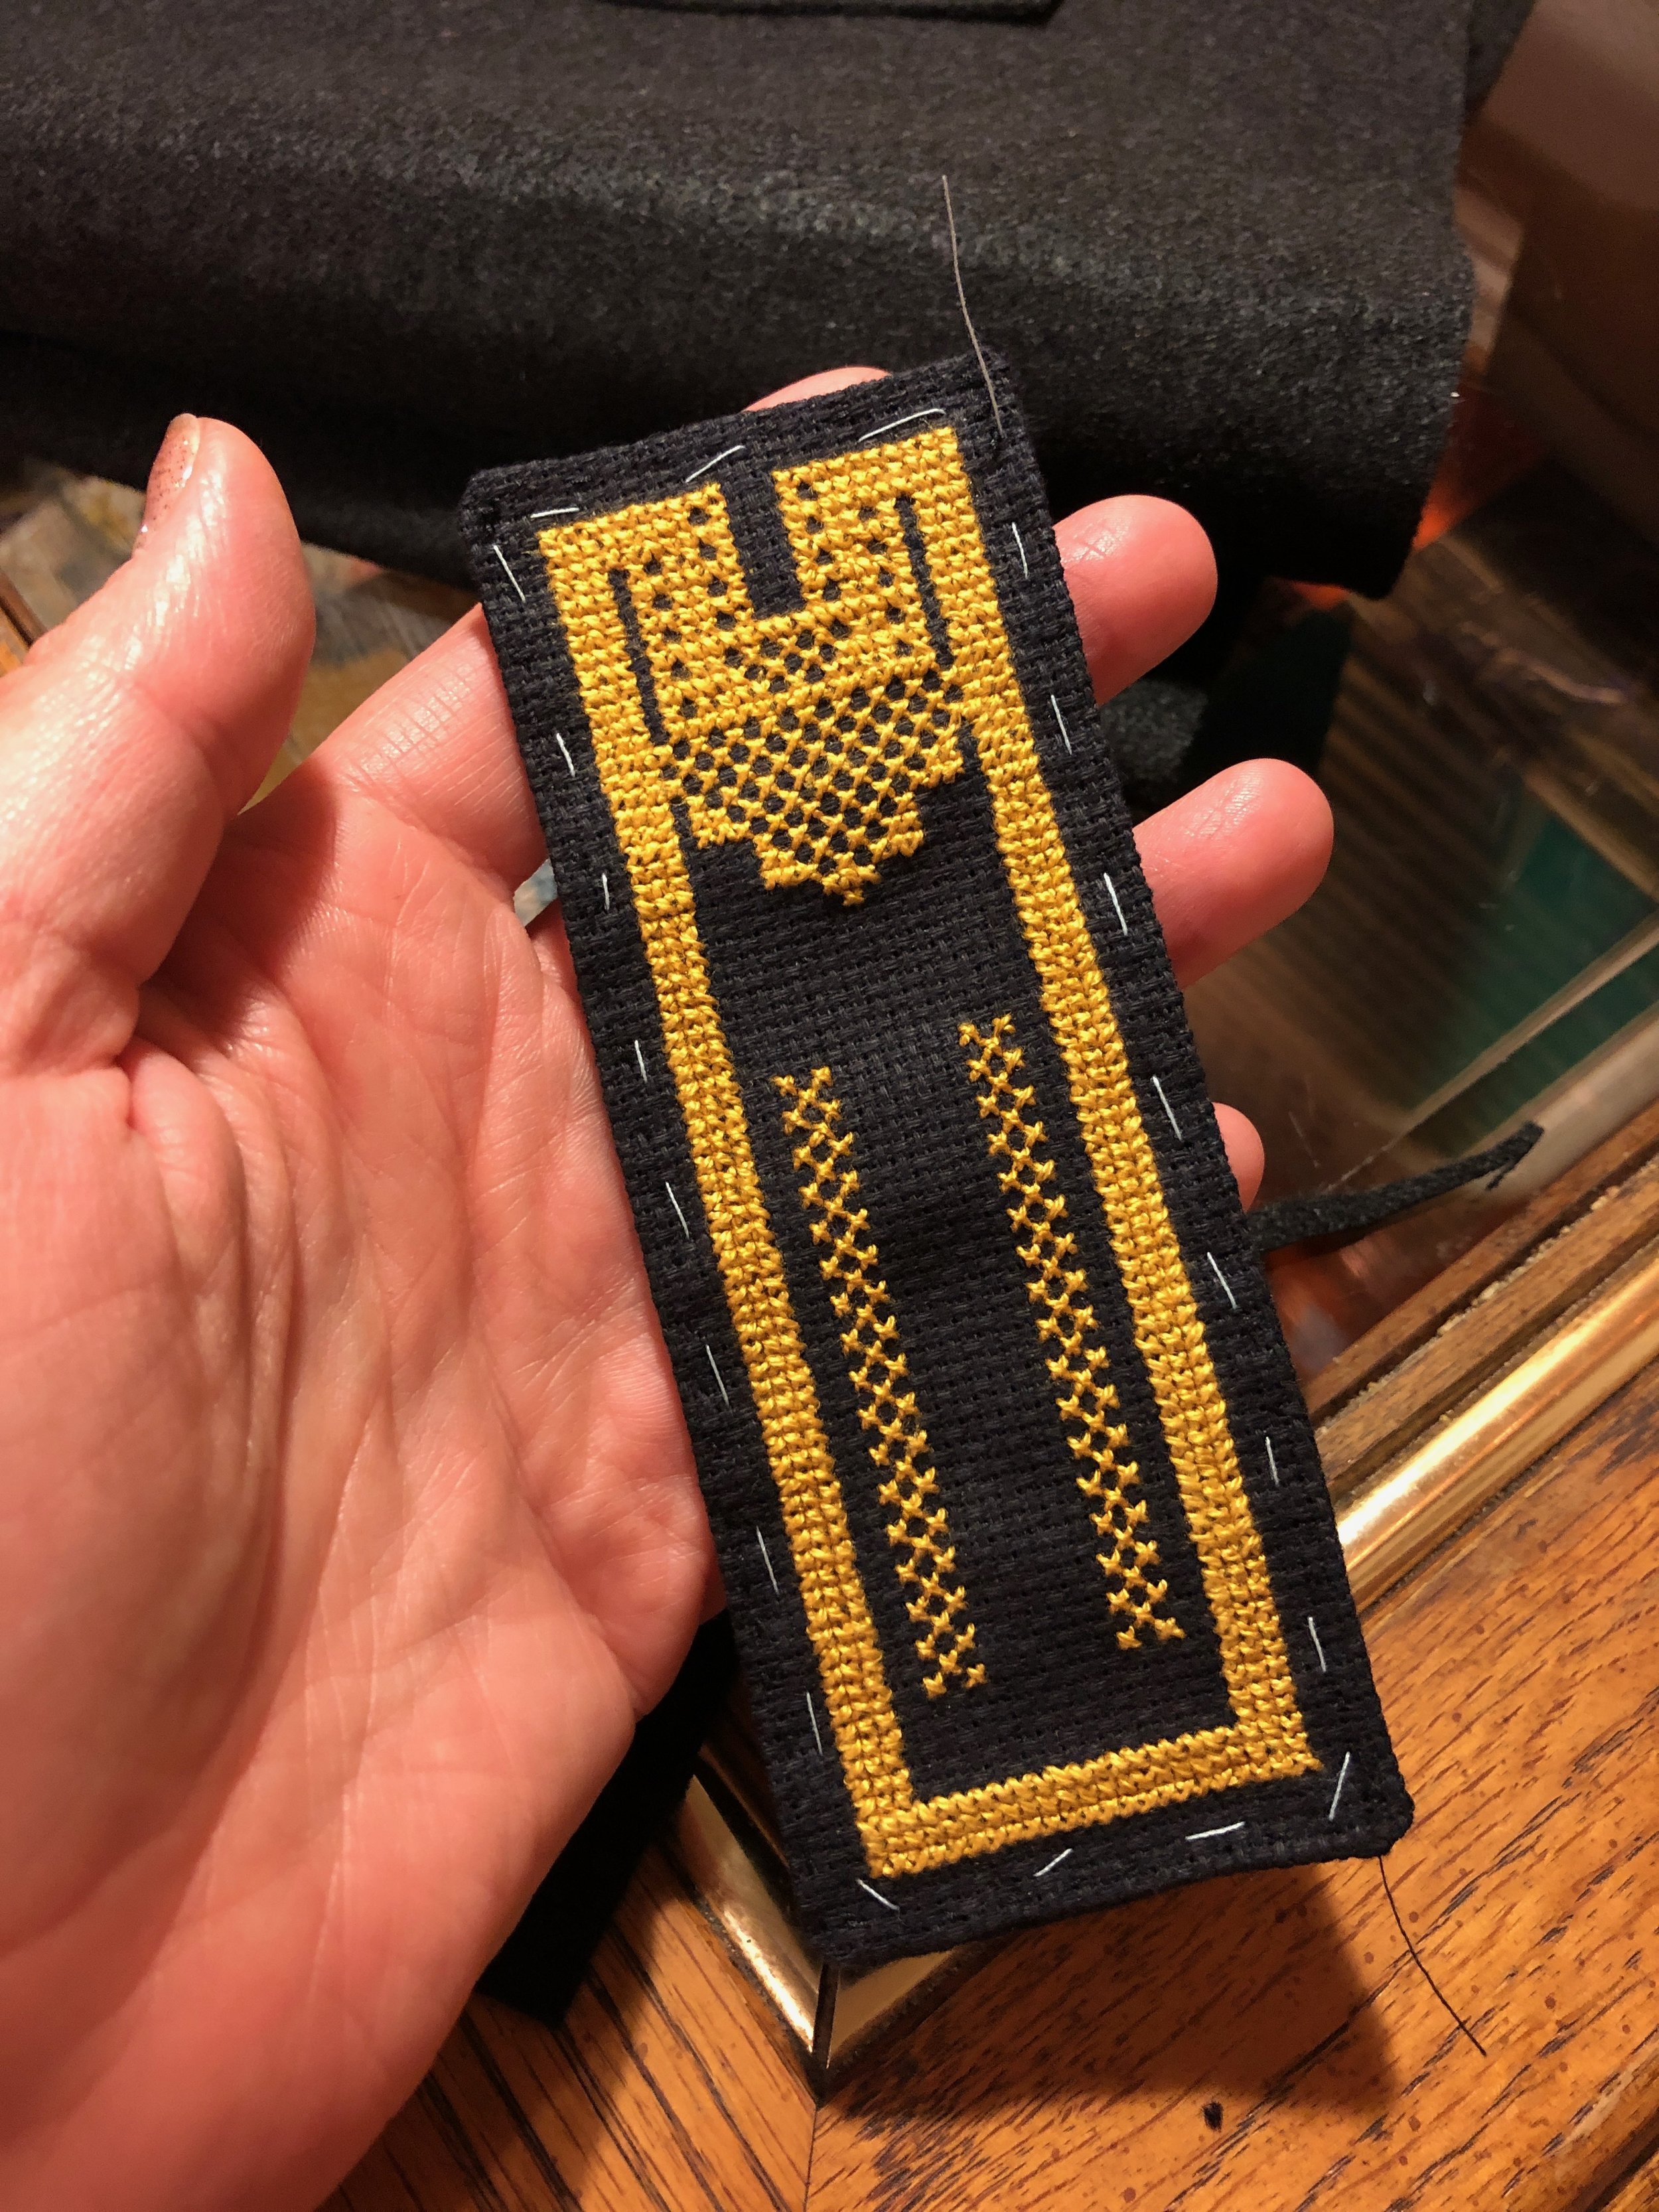
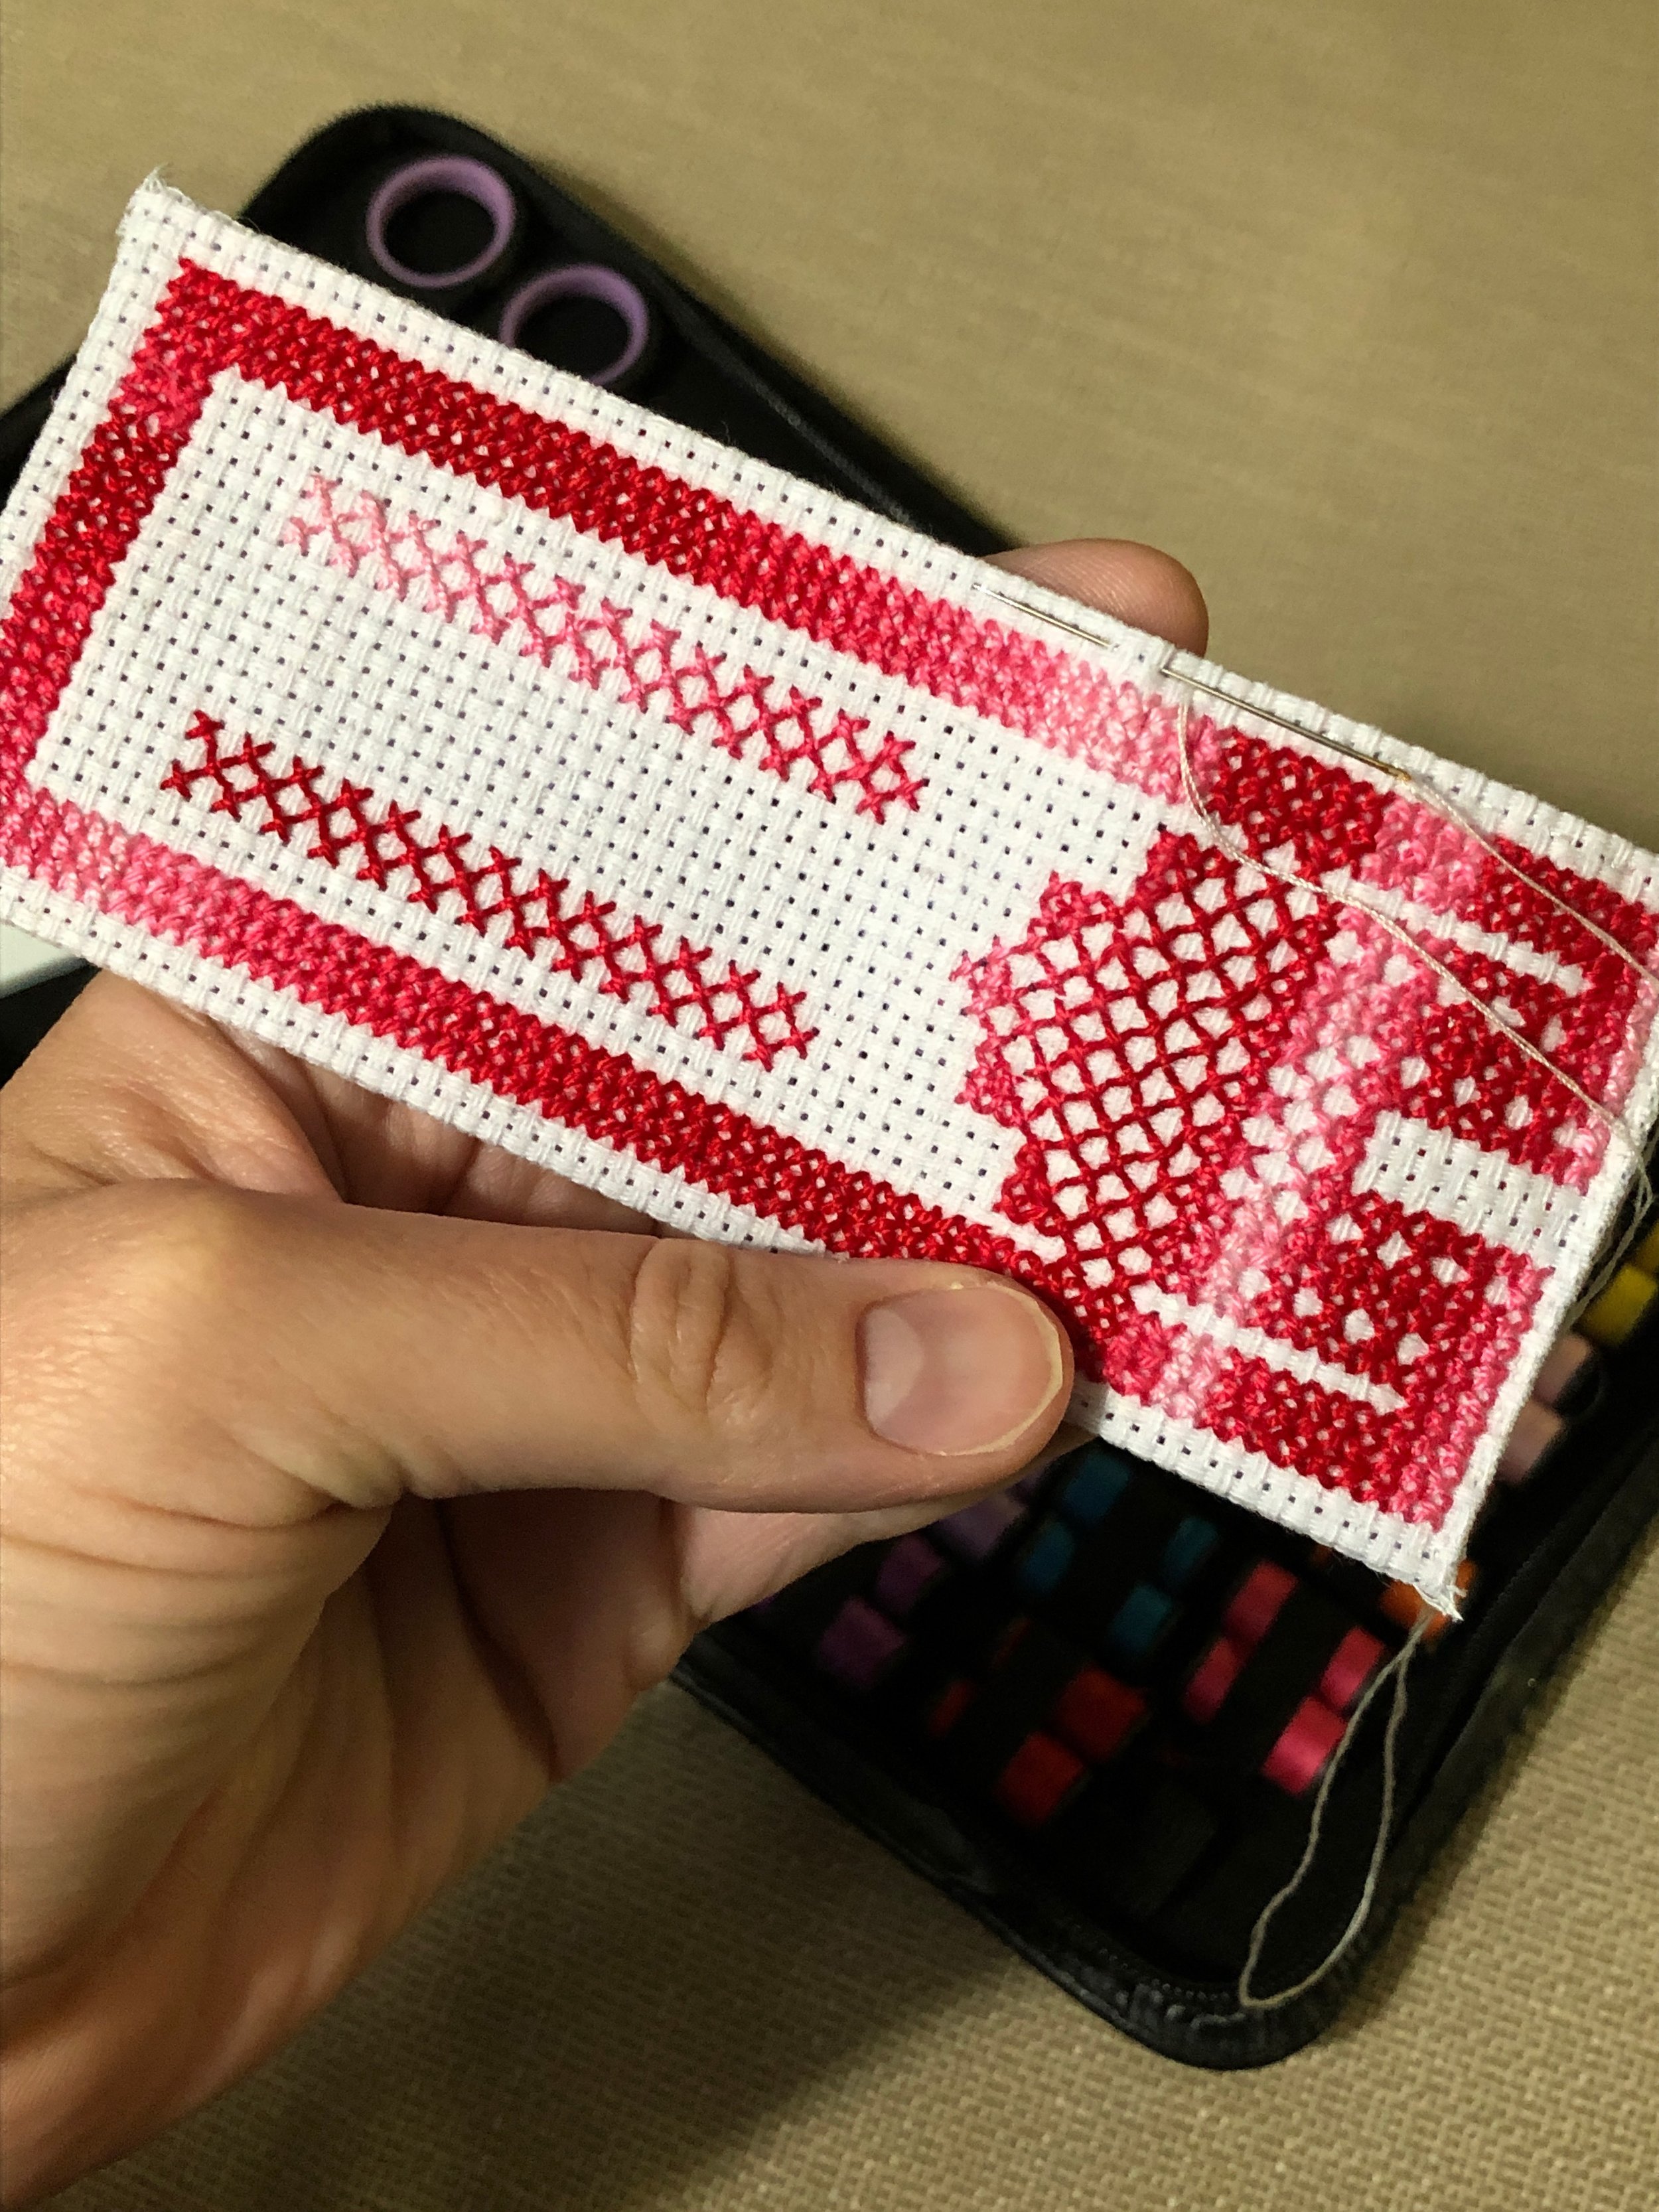
Carefully cut around the embroidered design, leaving 6-10 rows all around. The more the better, so if you can go to 10 rows, do it. If you have less, its okay, do your best with what is left and do not trim the edge.
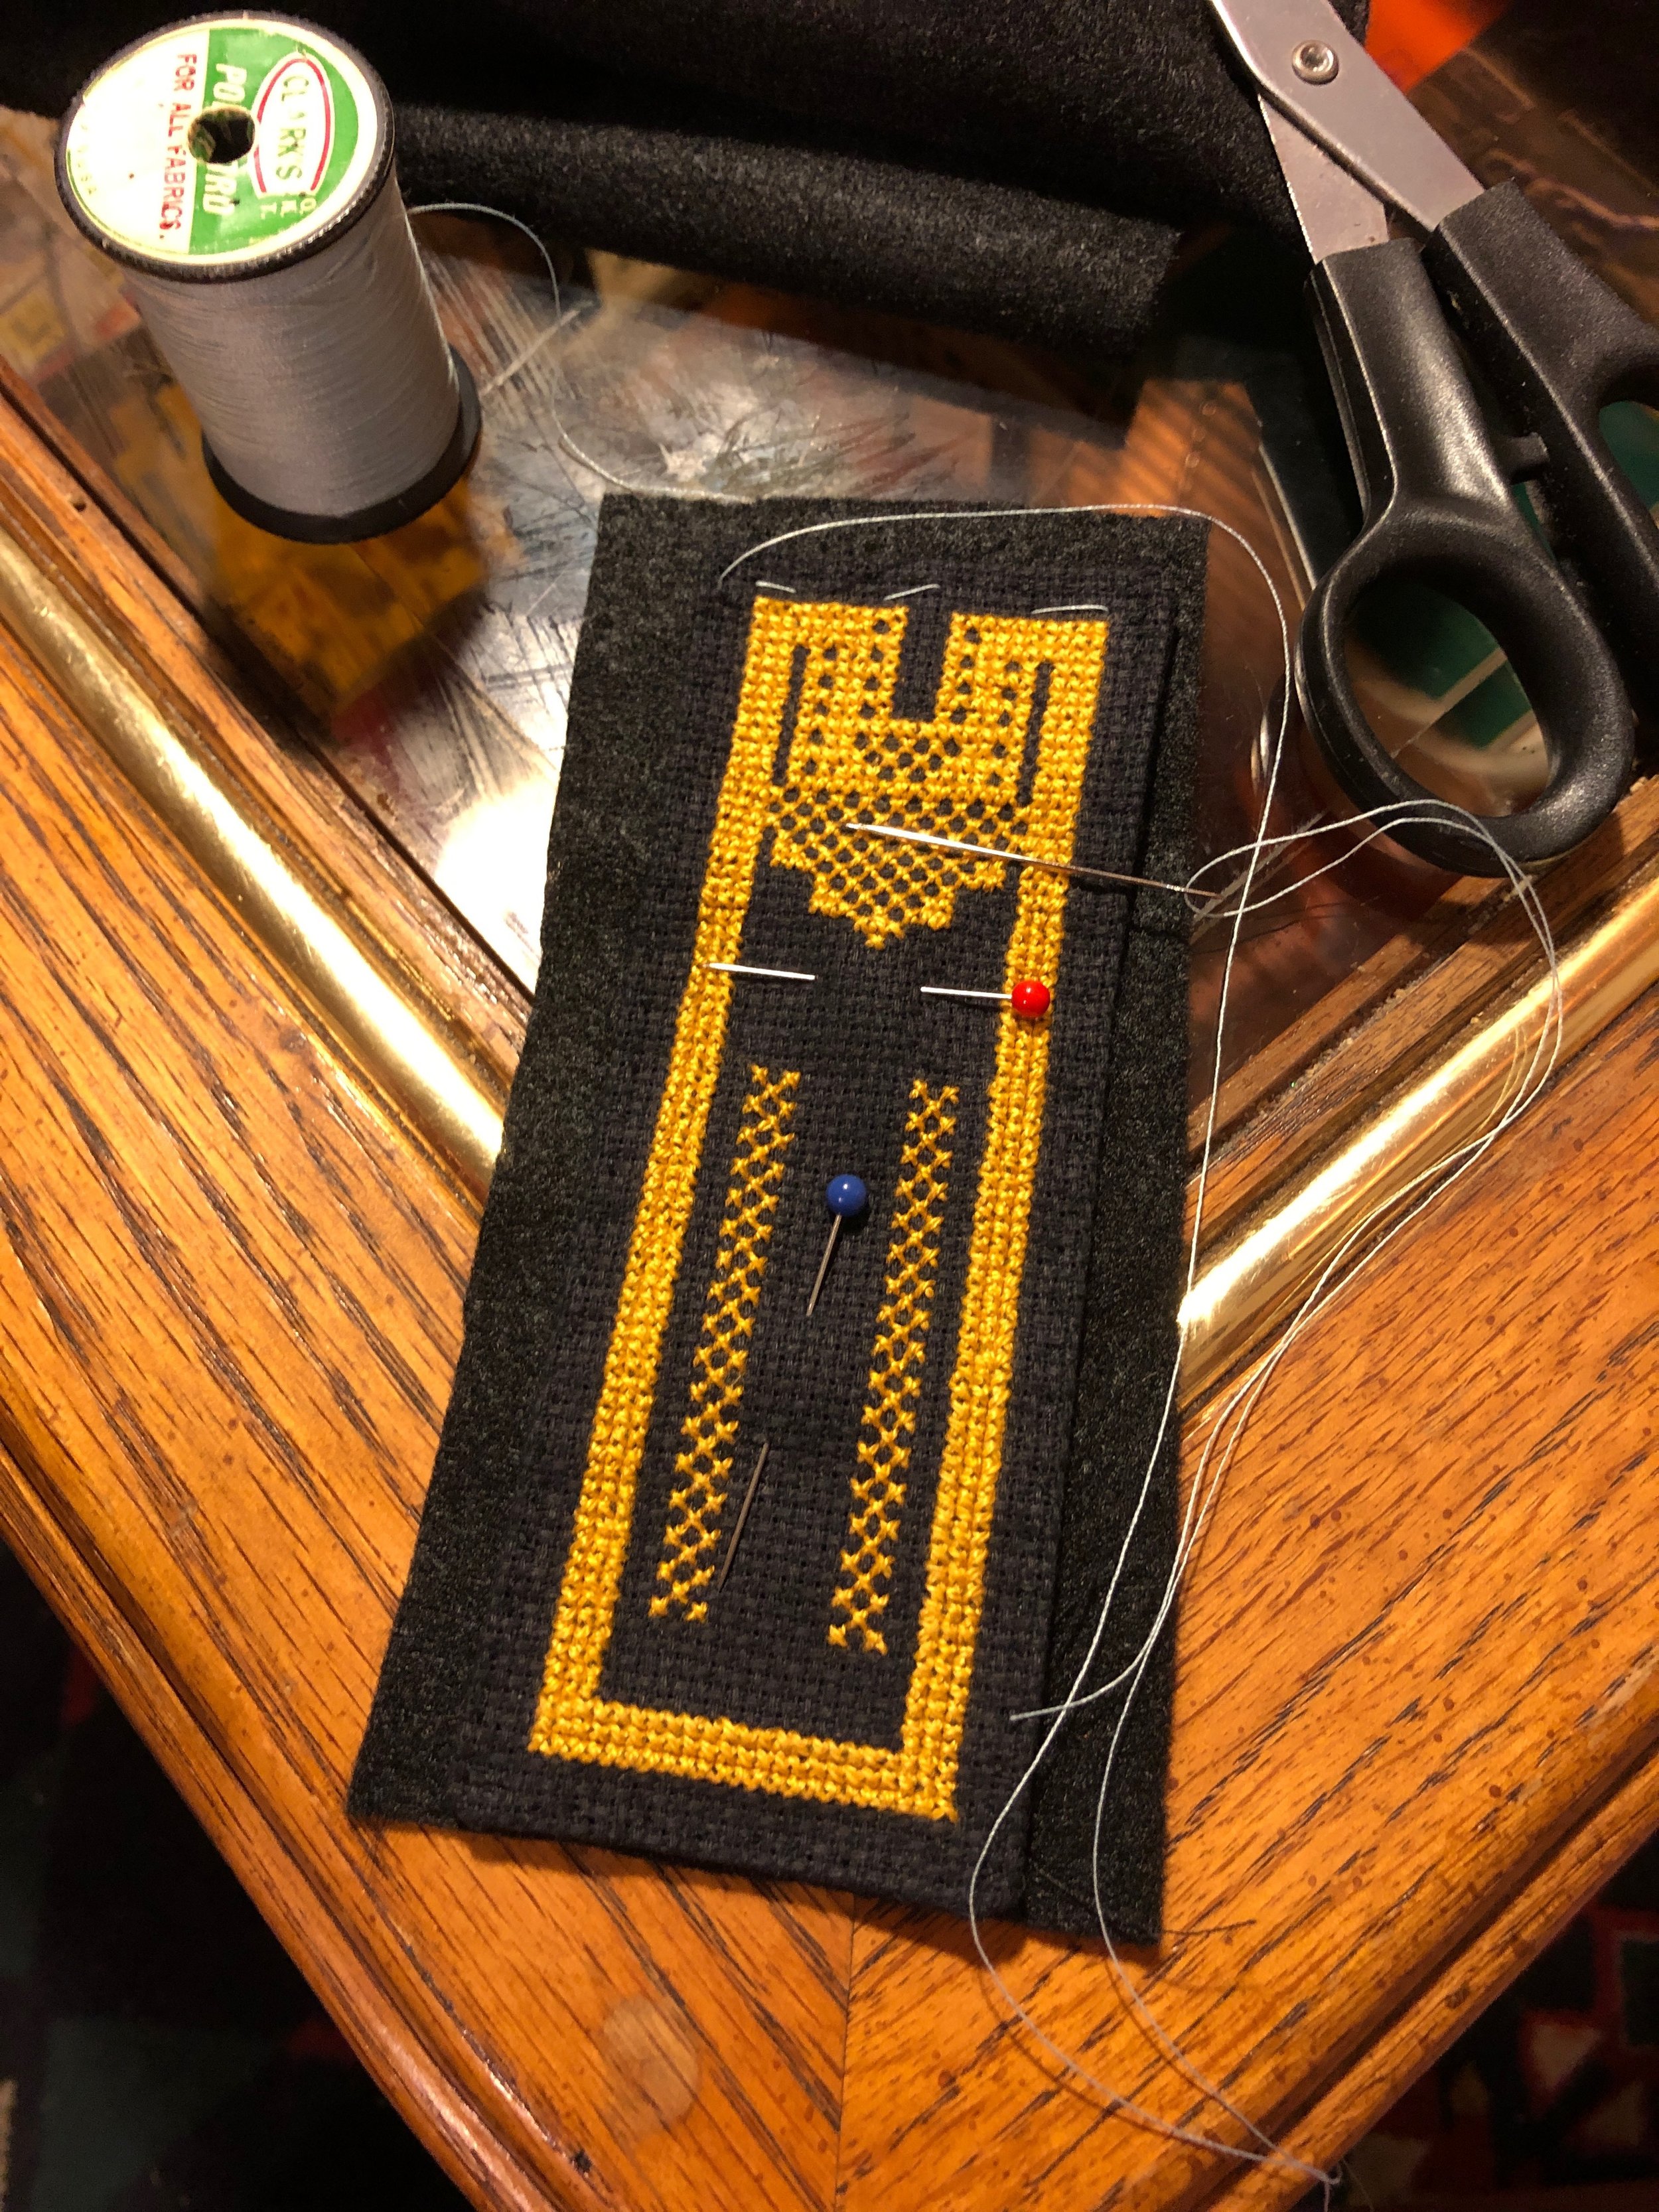
Thread your needle (double-up) with black thread, in order to stitch “mitered corners”. Instructions to do this are here. First I suggest pinning the mitered corners down, then sewing with black thread (basting stitch), then removing the pins and using white thread to do the final stitch. Once the white thread is sewn and tied off, remove the black thread.
Once your mitered stitch is completed with white thread, and you’ve removed the pins and black thread, it is time to secure the stiff felt on the back.
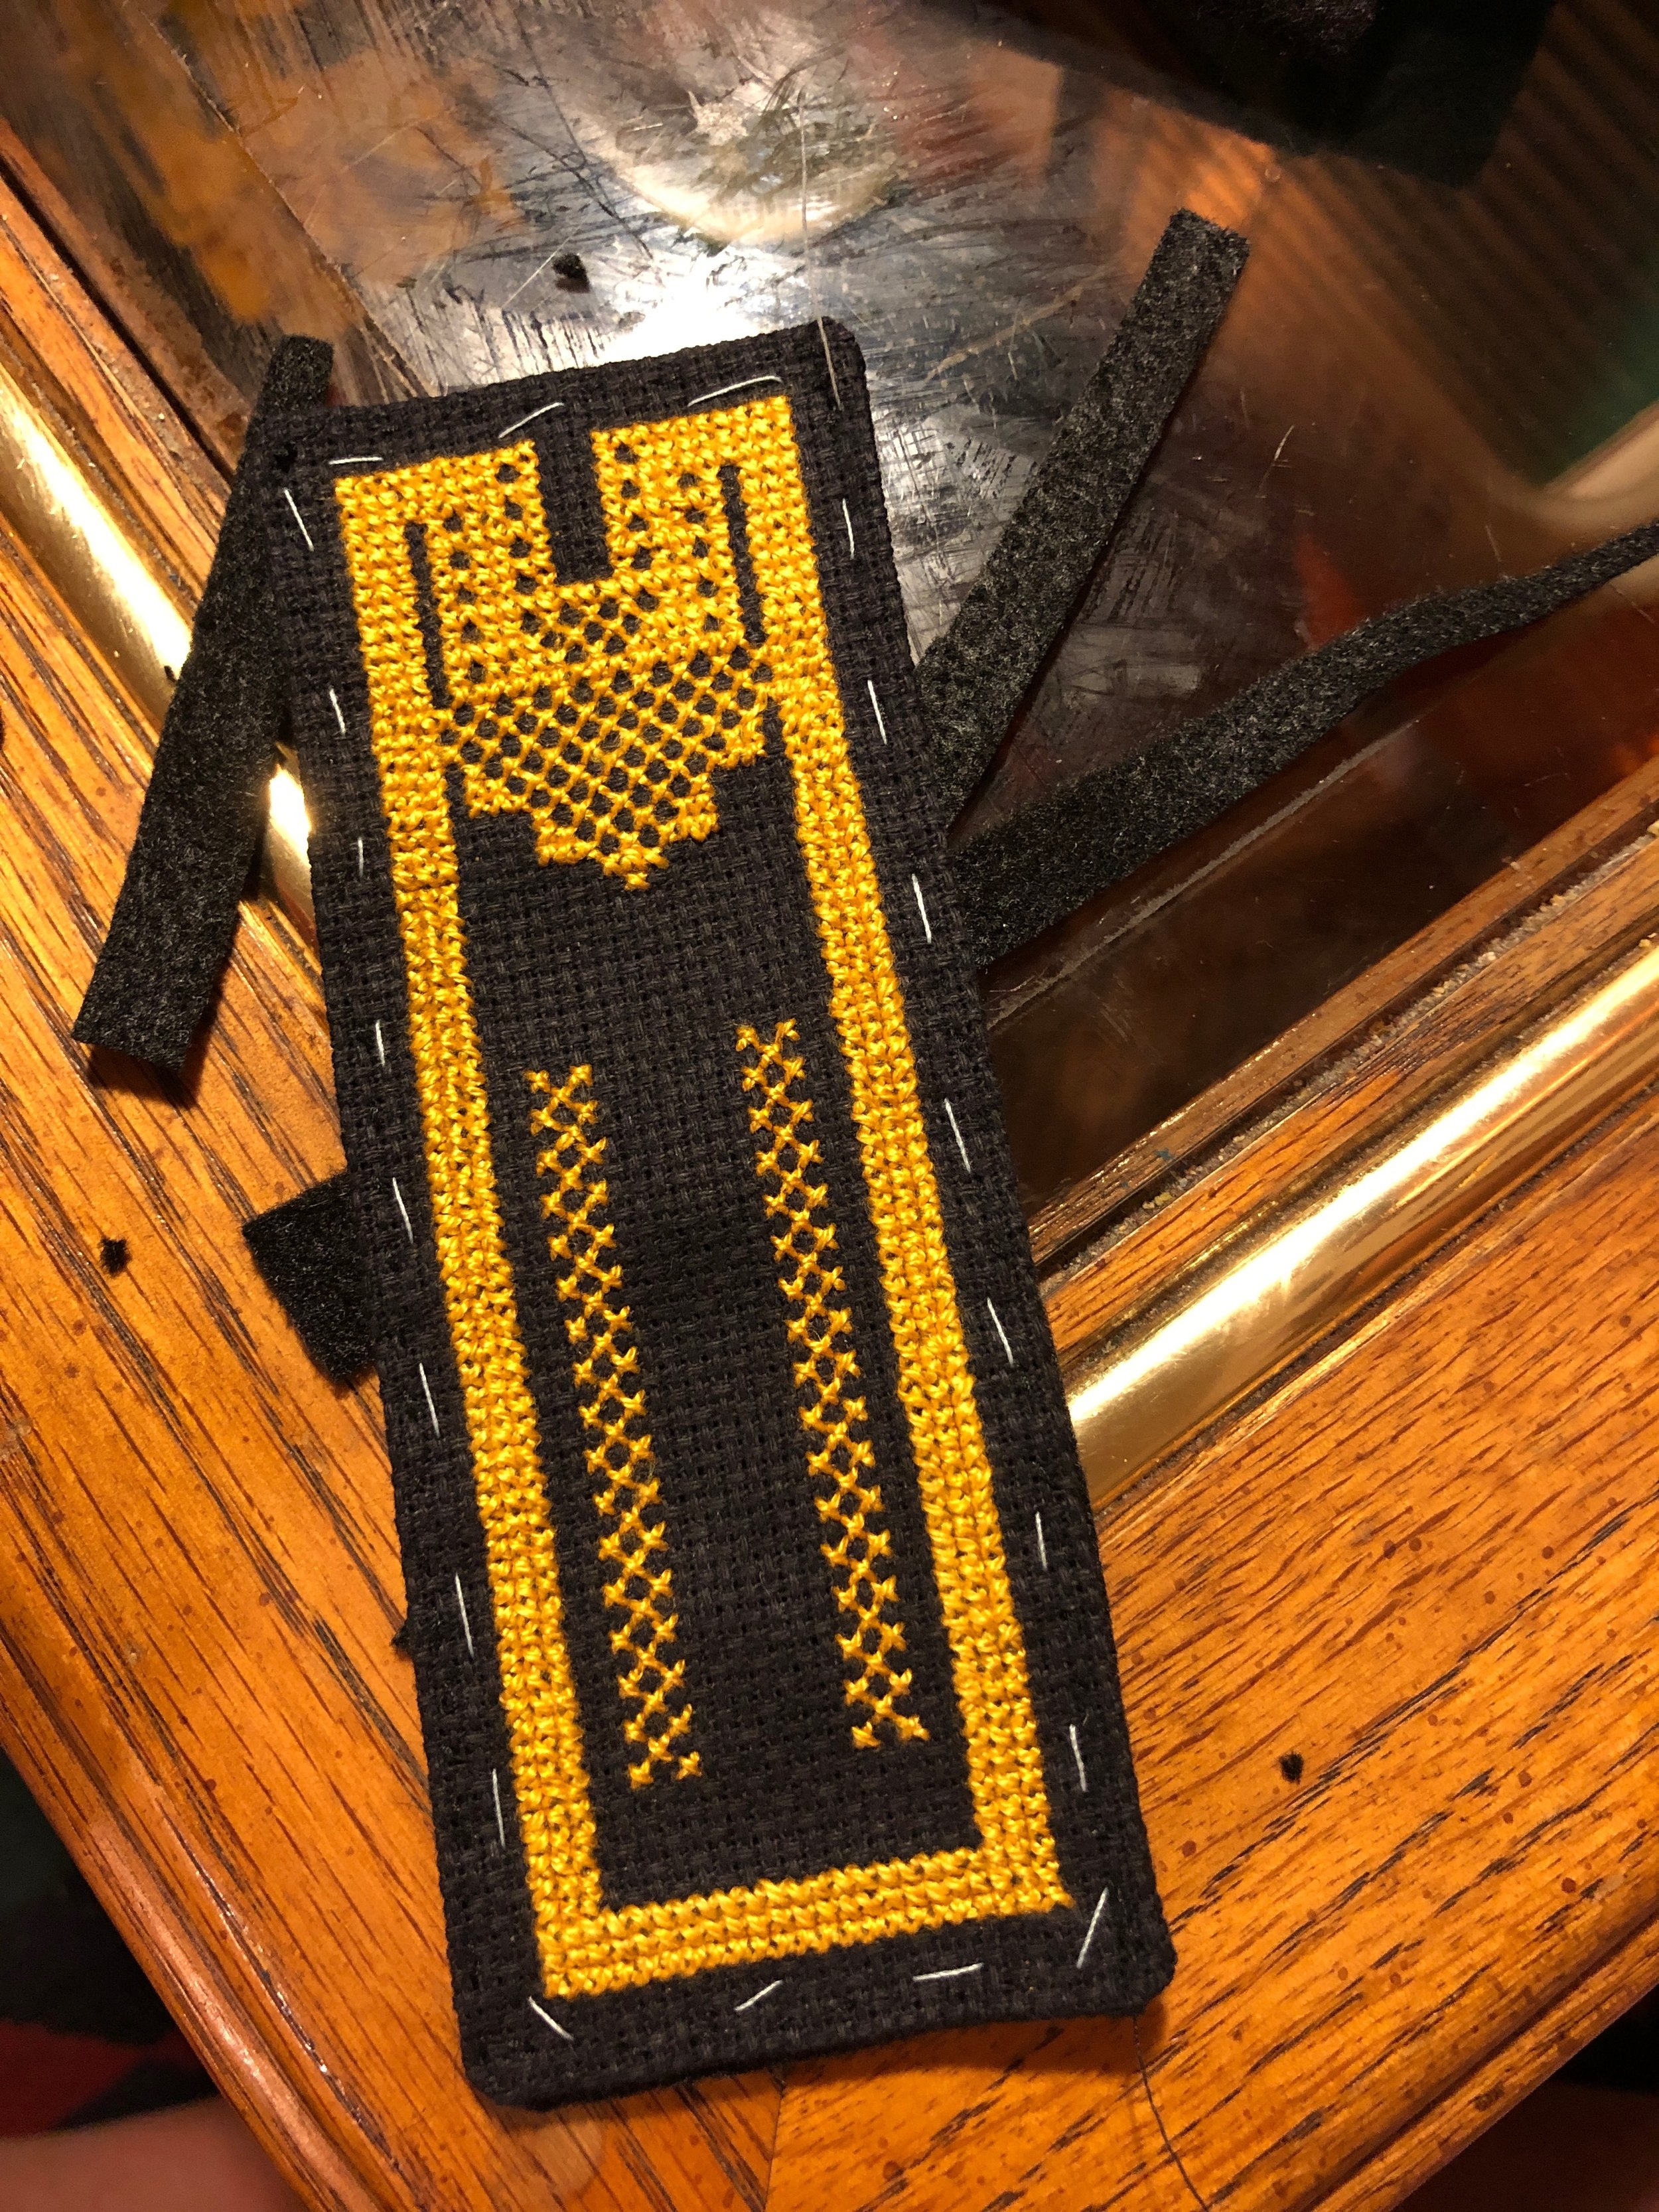
Without trimming the felt, pin the bookmark against the felt. Using the black thread, sew a basting stitch (or a loose running stitch just to hold the felt. The basting stitch should be done around all four edges of the bookmark.
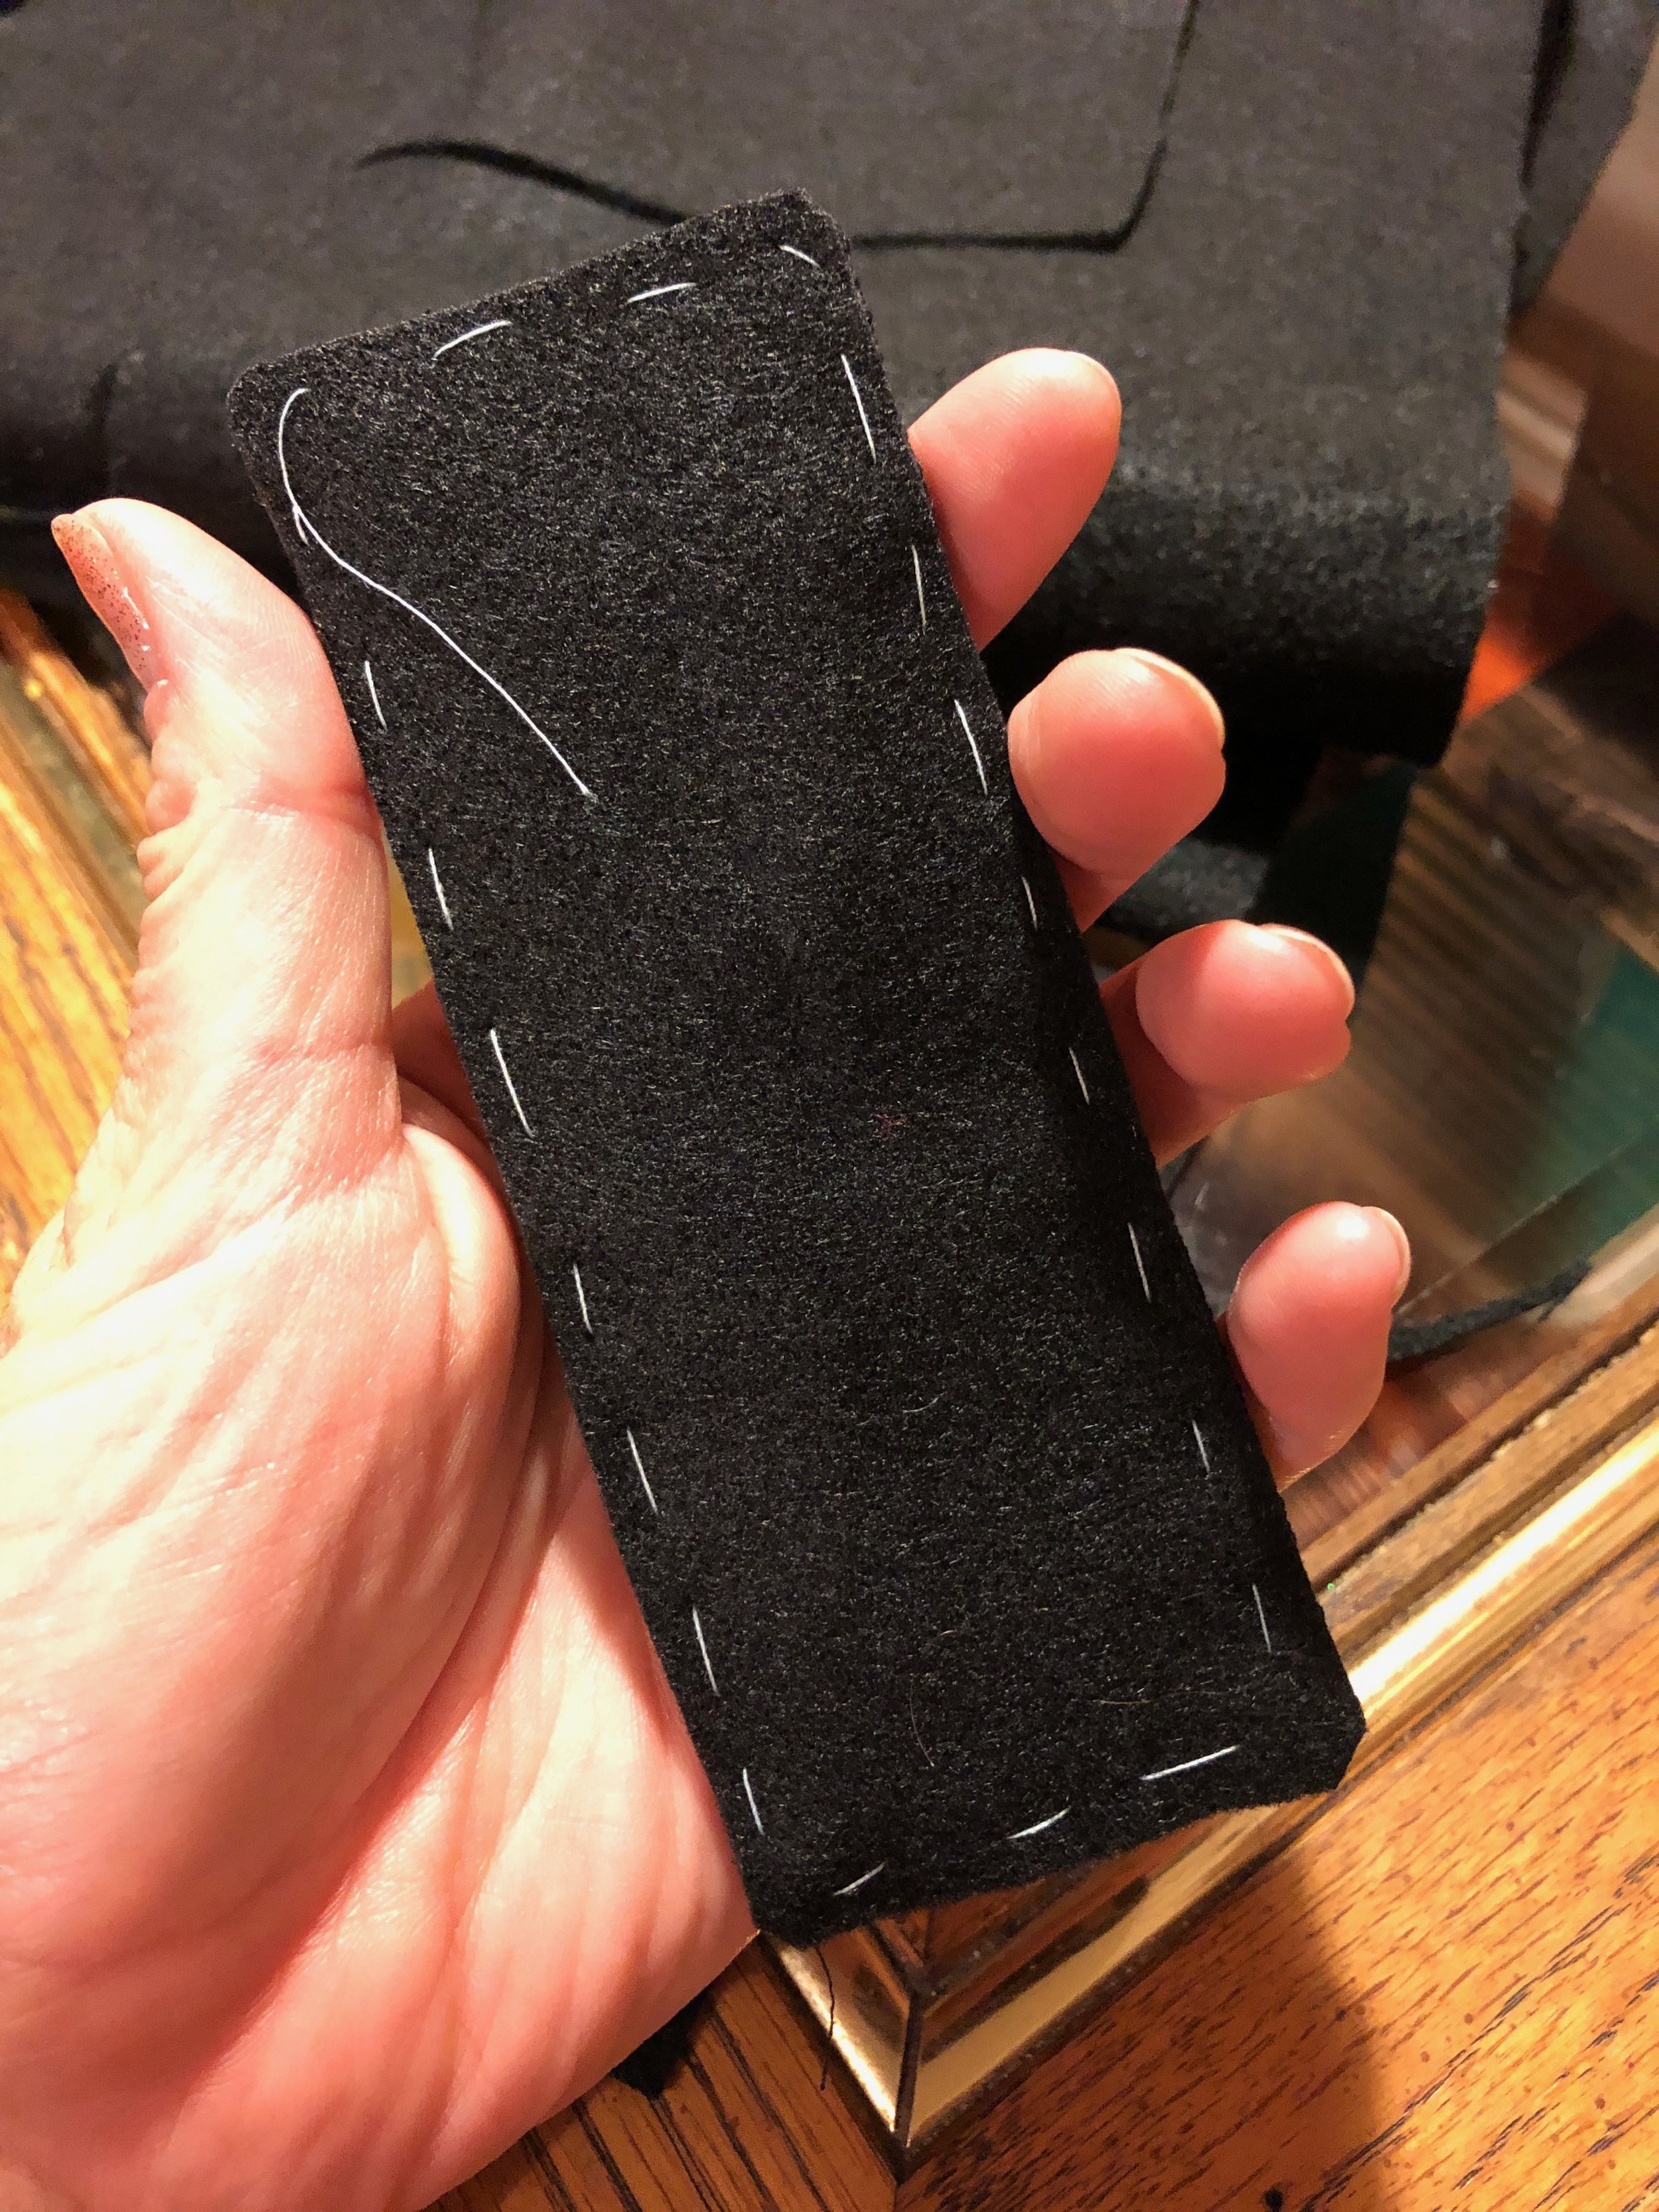
Using sharp fabric scissors, cut the felt to the size of the bookmark carefully.
Thread your needle with white thread, or any thread of your choosing and sew in place using a running or blanket stitch all around.
Remove black thread. Your bookmark is now finished!